Showing posts with label so handmade. Show all posts

Monday, November 9, 2015

In My Studio: Craft Fair Prep

So Handmade Christmas Tree Skirts at a craft fair
I am frantically getting ready for my first craft fair of the season at the moment. There are many holiday fairs that start around now and continue almost every weekend until Christmas. These holiday fairs can be the most lucrative time of year for selling and can also provide a great opportunity to network and market your business.

I was looking at an old blog post I did about craft fair prep and thought it would be good to share it again.

Here are some tips and challenges:

1. Which Holiday Fairs: Choosing the holiday fairs to participate in is the first challenge. Balancing the sometimes high cost of a spot with the potential for earnings. A great way to gauge which fairs are good and which to avoid is by talking to fellow vendors and don't overstretch yourself by applying for one every weekend between now and Christmas, pace yourself. On the weekends in between go and visit local fairs to see if doing them the following year might be worthwhile. Look at the other potential costs involved or doing the fairs such as the distance to the fair, hotel costs if it's a two day affair etc.

2. Plan your space. Once you have decided which fairs to do look at the size and shape of the booth you have been allocated. A good way to plan your booth is to mark it out on the floor of your house with masking tape. Arrange your booth furniture in the space allocated making sure that you are aware of where the flow of people will come and make your space easy to negotiate. A booth that's too cluttered will put people off from entering, make sure it's open enough to entice customers.

Does your set up require an electrical outlet and where will it be? Remember to give yourself a designated space/ chair to sit, the fairs can stretch on and on and on and being comfortable is important. Take photos of your mock up so you can easily replicate it on the day. Finally make sure all the booth furniture is manageable and will fit into your car, doing extra trips costs more and wastes precious set up time.

3. Tablecloths: Make sure you have table cloths that cover the front and any visible sides of your tables all the way to the ground. This makes your space look more professional and also gives a great storage space for things you don't want to be on view. Choose the color wisely to best show off your products.
My craft fair display
4. Presentation: Work out beforehand where your products are going to go and if you need special stands/ baskets for them. Play around with the layout and once you are happy take photos so you can remember. Keep your products clean, ironed and stored carefully, presenting dusty, creased products at the fair will not help your sales.

5. Branding: Label your stand with your business name as visible as possible. Banners are a great way of doing this, Staples and other stationary stores are often giving good deals on printing them. Keep business cards easily accessible to visitors and put one in every customers bag. Donating an item to the obligatory raffle is also a good way of getting visibility for you business. Remember to have out a visitors book for e-mail addresses so you can start to build up a mailing list.

6. Price your products with labels that are easily visible, do this before the show to save time but also remember extra labels for any products you missed or for any changes/ discounts you want to make on the day.

7. Payment Options: Remember to bring with you a cash box with as much petty cash as possible, at least $50-$100 in a variety of different denominations and change. Look into ways that you can accept non-cash payments, this might be on a smart phone or iPad with a Square/Etsy card reader or similar but be aware of the additional costs. Remember to add the states sales tax to every purchase made, bring a calculator to easily work this out. Register online to file these payments.

8. Be your own advertisement: If possible wear one of your products (if it's jewelry or apparel) and remember to tell people that its available.

9. Don't Forget:
  • Plastic or paper bags for customers purchases and packaging such as bubble wrap or tissue paper if needed 
  • Business cards, banners and other branding items 
  • Calculator, receipt book and notebook to keep track of sales 
  • Pens, pins, safety pins, scissors, string, tape, small sewing kit 
  • Food and drink to keep you going and a book for slow times 
  • Extension lead for electrical supply if needed
  • iPhone/card reader and cash box


I used my cart as a handy packaging station 

10. Network: Lastly don't forget to tell people where you will be at the weekend, make sure all your family and friends are going to visit the holiday fair and especially your booth. Post details of your schedule online and encourage visitors with promises of cookies!

Before anything else, preparation is the key to success.
Alexander Graham Bell

Good Luck and Good Making!

Sarah Omura - So Handmade

Monday, September 7, 2015

In My Studio: Using Etsy Local


I have recently discovered the new Etsy Local feature on the website and Etsy App.
Its a great way for both sellers and buyers to connect at events and stores in and around your local area. Or to discover great events happening when you are travelling to new places.

For Buyers

Go to www.etsy.com/local or on the Etsy App click the local option at the top of the page.
Look at the map for the locations that your local Etsy sellers will be exhibiting at including events, pop up shops, markets, fairs and bricks and mortar stores.
You can easily scroll through the events and when you click on one it will give you all sorts of information about the event including which Etsy sellers will be there, hours and location and related websites.

When  using the app on an iphone or ipad the Etsy App will use your location as a basis for which to compile a list of events. If you want to look for events further afield you can type in your location at the top of the page at www.etsy.com/local.


For Sellers

This is a great way to get exposure for any events your are participating in.
When you have been accepted at an event you can add your Etsy shop to any of the events listed.

Click on the event and then click the blue 'I'm Participating' button. It will give you the option of writing a sentence on what visitors can expect to see at your booth.  It is also possible to add your own event if you are organizing a trunk show, pop up market or to advertise your brick and mortar store.

Once you have added your shop to an event it will say Upcoming Markets on the side bar of your Etsy shop page (right under your review stars and sales number). When visitors click on this it will give them the events you are doing like this:
See you out and about soon!
Good Luck and Good Making
Sarah

Monday, August 17, 2015

In my Studio: Back to School

Gorgeous Pencil Case from H and J Star Creations

If, like me you are counting down the days till your little ones go back to school, here are a few curated items from Hudson Valley Etsy to ease the transition:

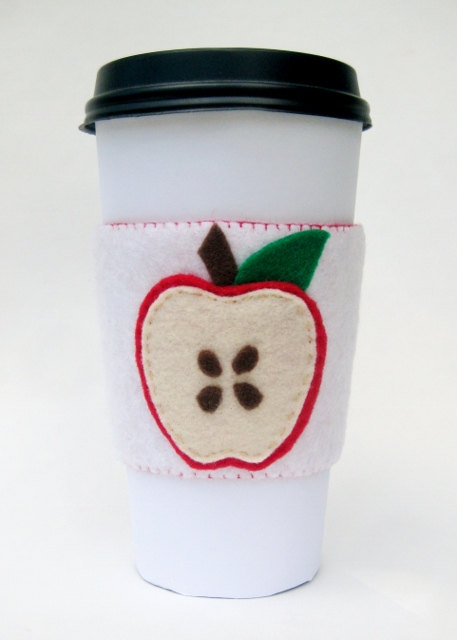
Welcome your teacher back with one of these seasonal cup sleeves from Quarter Life Luck:

Apple cup sleeve from Quarter Life Luck

Store your kids crayons with one of my very own crayon rolls:


Crayon Roll from So Handmade

Organize all those books, stationary and supplies in these wonderful baskets by Twisted Thread and Hook:

Set of 3 Rope Baskets by Twisted Thread and Hook

And finally once the kids are out the door treat yourself to a well earned pampering courtesy of Beyond the Picket Fence!

Dead Sea Salt Spa in a Bottle from Beyond the Picket Fence


Labor Day is a glorious holiday because your child will be going back to school the next day.  It would have been called Independence Day, but that name was already taken.  Bill Dodds


Good Luck and Good making
Sarah
So Handmade

Thursday, August 13, 2015

Where To Find Hudson Valley Etsy This Weekend

 Party on the Block, Shop by the River, Stroll the Flea


The Ides of August bring good fortune for adventuresome souls who love exploring the Hudson Valley. This weekend Hudson Valley Etsy will be out in force, so you'll need to plan your itinerary very carefully. 

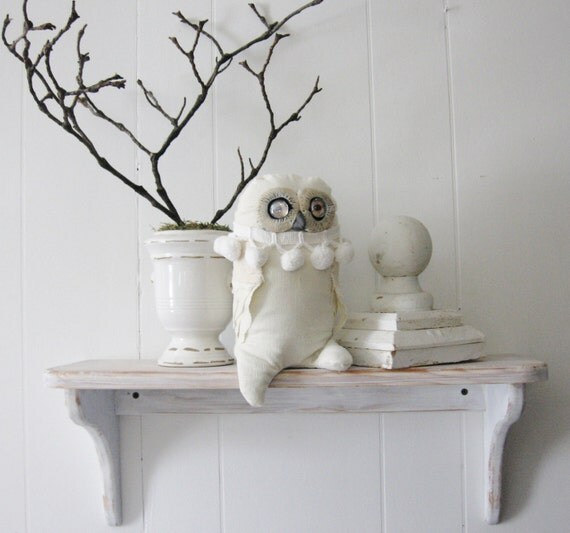
Owl, Soft Sculpture, Folk Art Doll, Collectible Art Doll, Snowy Owl
Snowy Owl soft sculpture by digiliodesigns

Starting in the Mid-Hudson Valley and working your way up, you can meet Sue, from digiliodesigns down by the river at the Garrison Riverside Arts Fair, both Saturday and Sunday. 


Next, you can party (and shop) with seven of our members on Saturday in Kingston at the Chronogram Block Party.  Meet Hester from Hester's Studio, Gwen from Beyond The Picket Fence, Marilyn from Pulp Sushi, Karen from Karmabee, Sara from So Handmade, Jackie from NixeJewels, and Erica, from Incarnate Anew. They'll be rockin' the block from 4 - 9PM. 


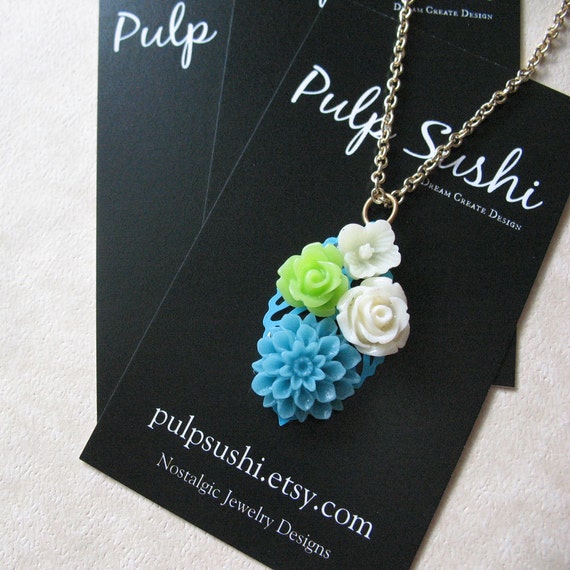
Blue Leaf Necklace With Flower Bouquet - Flower Pendant Necklace For Women
Blue Leaf Necklace with Flowers by pulpsushi
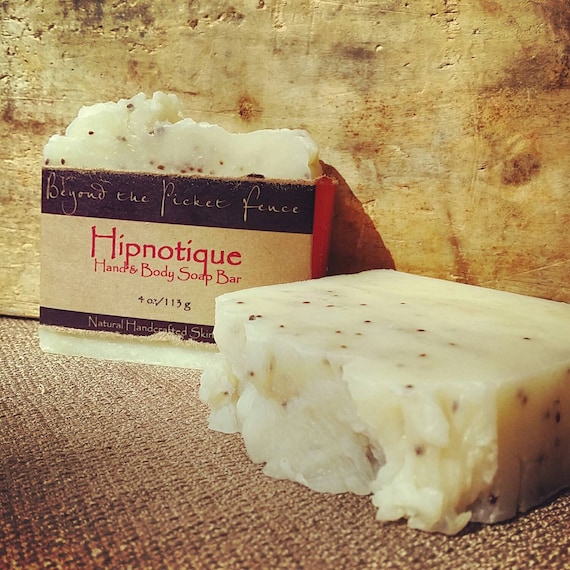
Grapefruit, Lemongrass and  Clary SageHandmade all natural soap
Hipnotique All Natural Soap by beyondthepicketfence

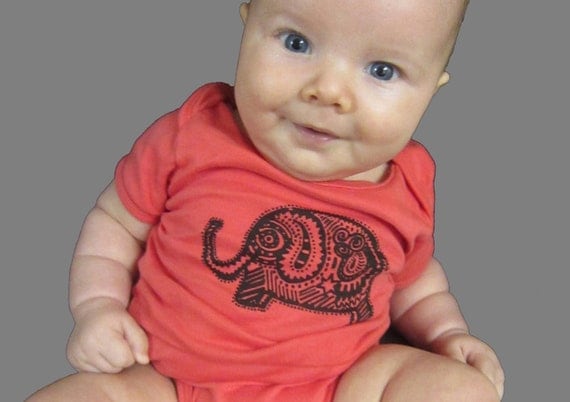
Organic Elephant Baby Onesie Newborn Shower Gift American Apparel Salmon / Peach Cotton One-Piece Bodysuit
Organic Cotton Onesie, by karmabee
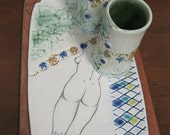
Tray for Two
Tray for Two, by hestersstudio

Lunar Cycle Pendant
Lunar Cycle Necklace by incarnateanew

Blue Chalcedony - Ready to Ship - Sterling Silver - LUXE - Earrings
Blue Chalcedony Earrings by Nixe Jewels

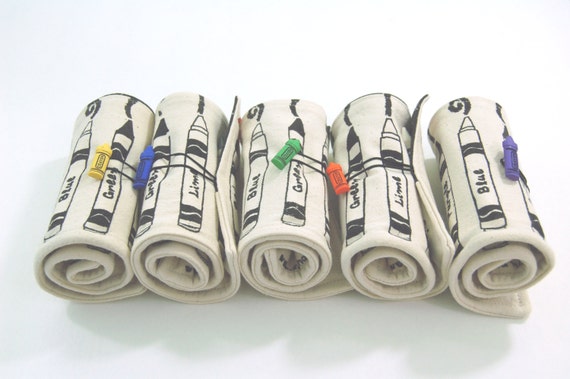
CRAYON ROLL travel accessories crayon holder crayon organizer crayons crayon art kids toys kids art kids gifts craft storage baby toys
Crayon Roll Travel Accessory by So Handmade

And finally, head north and west to find Christina, from Hudson Naturals at the Phoenicia Flea at Westwind Orchard, Accord, N.Y.on Saturday and Sunday.

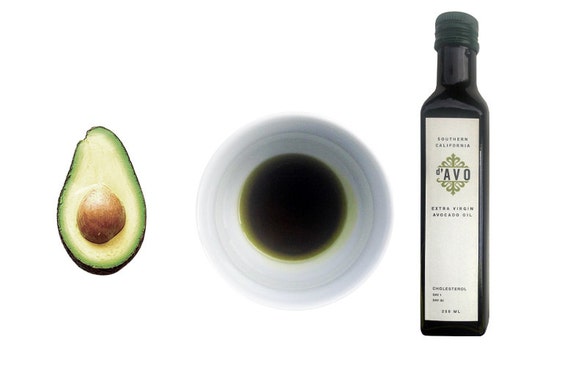
d'AVO Avocado Oil-unrefined
Unrefined Avocado Oil, by HudsonNaturals

Tuesday, July 7, 2015

In My Studio: Listening to Podcasts

My varied podcast subscriptions

While I work in my studio I love listening to all manner of podcasts. I listen to business and entrepreneurship podcasts to get useful tips for running a small craft business. I listen to crafty podcasts to get inspiration and motivation for my products and I listen to drama podcasts for pure pleasure while I get busy in the studio.

In the blog today I want to share with you some of the popular ones that fellow Hudson Valley Etsy team members listen too:


First, Marilyn from Pulp Sushi recommended a podcast to her Instagram followers a while ago called Being Boss. I started listening to this one on her recommendation and love it! On it, two creative boss ladies - Emily Thompson and Kathleen Shannon, talk about their experiences starting and running their own businesses. As they themselves say:

 "Being Boss is hard. Blending work and life is messy. Making a dream job of your own isn't easy. But getting paid for it, becoming known for it and finding purpose in it, is so doable- if you do the work."

I highly recommend this one for some great advice, motivation and real life inspirational tips to grow your business.

Download: Available from iTunes (search Being Boss) or from www.lovebeingboss.com

Another podcast of a similar genre is called Elise Gets Crafty.

This is one that I have been following for a while and I also love it for its down to earth, no nonsense advice from blogging, to running an Etsy shop, to juggling motherhood and working. Elise Blaha Cripe is a creative entrepreneur with a successful blog www.elisejoy.com  she sells online courses as well as owning her own shop selling handmade items. Her podcasts mainly take the format of discussions with guests who are invited on the show to talk about specific topics.

Download: Available from iTunes (search Elise Gets Crafty) and from www.elisejoy.com


Elena Rosenberg loves listening to A Way with Words podcasts while she works. Although not directly related to crafts and making, it is all about words and language and their creative usage. Hundreds of thousands of language lovers from around the world tune in each week to hear author Martha Barnette and dictionary editor Grant Barrett take calls about slang, grammar, English usage, old sayings, word origins, regional dialects and family expressions.

Download: Available from ITunes (search A Way with Words) or from www.waywordradio.org


Beyond the Picket Fence enjoys listening to Fresh Rag. This creative and business minded podcast also gives lots of great tips and advice about running a small craft business. Dave Conrey, the shows creator says:

"If you’re an artist, designer, crafter or other independent, creative entrepreneur looking to build your business and make more sales, you’ve come to the right place.

If you’re tired of busting your butt, with an ever-increasing work load, for a business that was supposed to be your dream, and you’re looking for a way to ease the pain, you’re also in the right place."


Download: Available from ITunes (search Fresh Rag) or from  www.freshrag.com


Good Luck and Good Listening!

Tuesday, May 19, 2015

Out of My Studio: A Walk in Woodstock


'A Walk in Woodstock' baby fabric book by SO Handmade

I have been busy in my studio developing, printing and making my new fabric baby book  'A Walk in Woodstock'. To mark its launch I thought an actual walk in Woodstock would be in order on this beautiful spring day.

Woodstock has many facets to which I pay homage in my book including its musical heritage, the famous Sunday drum circles, the Woodstock Windchimes and the peace movement. But in recent times many wonderful new stores and cafes have opened to appeal to visitors and locals alike.
A Walk in Woodstock

New eatery Shindig is situated right in the heart of the village and offers 'an open door, a warm seat, and a much needed sip and nibble'. Organic, local and seasonal ingredients are lovingly prepared by Chef Page Moll into heartwarming comfort food just like your Mom used to make.

Shindig

Amongst the exciting new stores is a little gem called 'Shop little House'. Owner JoJo Ans has a wonderful eye for combining fine vintage with modern Americana with artisan made gifts and homewares including those of our own HVEtsy team member Hudson Naturals.

Shop Little House

Woodstock Music Shop
 Two wonderful stores in Woodstock will be carrying my book The Golden Notebook and Illuminated Baby so call in and have a look!


"Woodstock had a tremendous impact on artistic American life"  P.J. O'Rourke

Hope to see you in Woodstock soon!

Good Luck and Good Making!

Sarah


Wednesday, February 4, 2015

In My Studio: Packaging


Lovely packaged set of cards from Cynla Cards and Design

During the holiday season I was lucky enough to get out to a few craft fairs. Looking around at the merchandise on offer I noticed some really interesting ways that vendors had packaged their wares. One company used wooden thread spools on which to wind bracelets and wooden rulers to hang necklaces. These beautifully and uniquely packaged items were by far more appealing to me as a customer and got me thinking about the ways I too could package my products more successfully. By spending a little more time and money on the end product could have a big difference in profits at the end of the day.
Great packaging can:
  1. Get your products 'noticed' in a sea of vendors at a craft fair or in the Etsy search pages.
  2. Increase the perceived value of your products, enabling you to increase your profits
  3. Be informative- giving the customer info about the product and your company for potential future orders.
  4. Make your line of products more cohesive
  5. Elevate your brand and make it memorable
Great packaging boxes from The Pudgy Rabbit


In order to achieve this the packaging should:
  1. Be thought of as an integral part of the product and not just an afterthought.
  2. It should reflect or complement your brand, your ethos and your style
  3. Be easily replicated for future items
  4. Affordable
  5. Not too time consuming
  6. As green as possible
Some different ideas for creating your own unique, eye catching and memorable packaging could include making your own stamps or block prints, printed materials, stickers, fabric bags and ribbons or even including a small 'freebie' with your product.

I posted on this blog a little while ago a tutorial to make your own fabric labels. This technique could be applied to making your own packaging ribbon and labels. Click this link to access the tutorial.

My own SO Handmade fabric labels
Taking all of the above into account I set about packaging some play mats I had just made.  I used leftover scraps of fabrics I had to make them and then added some printed labels. I also used vintage buttons to finish the effect.

I was very happy with the result and think they look really effective. I hope to add the same pizzazz to the rest of my collection in the future.


Lego/ small toy play mat from SO Handmade

Good luck and Good Making!
Good things come in small packages!
Sarah Omura - SO Handmade

Wednesday, January 21, 2015

In my Studio: Valentines Envelope Tutorial


Last year I made these really cute valentines envelopes, they were a huge hit with everyone. My sons teacher told me the other day how she has been using hers to store jewelry when she's travelling. I thought it would be fun to repost the tutorial in time for this years February the 14th.

Materials
  • Felt pieces
  • Embroidery thread and needle
  • Button
  • Iron-on printer sheet
  • Ribbon
  • Template (as photo below)

1) Write a list of all the names you would like on your envelopes and print them out onto iron-on printer paper. I used the font 'courier' to make it look like old-fashioned typewriter print. Remember to flip your page first before printing it so that the names come out the right way around. I did this my saving my word document as a PDF then opening it up in photoshop and flipping it before printing it out.


2) Cut out the names and iron them onto a grosgrain ribbon, cut the ribbon either side of the name leaving a small amount to turn under on both the open fraying sides.


3) Use your template to cut out your felt pieces, also cut out small felt hearts in coordinating colors.


4) Sew the hearts and the names on to the envelopes in the corresponding places (see photo below.) Tuck the raw edge of the ribbon under so that it won't fray.


5) Turn over the envelopes and sew the sides and the end down.


6) Sew a button on the back and cut a small eyelet in the flap.

7) Fill the envelop with a valentines card, gift, candy or a perfect Valentines day surprise.


All you need is love. But a little chocolate now and then doesn't hurt. Charles M Schultz


Good Luck and Good Making!

Sarah Omura
So Handmade

Thursday, January 8, 2015

In My Studio- Using up Scraps


After a busy holiday season January is the perfect time for me to have a big sort out of my supplies. One area that threatens to take over is my remnant stash, one scrap of fabric seems to multiple overnight and becomes an overflowing colorful hoard.
Each small scrap seems so precious to me, knowing its origins and its possibilities. I endeavor to try and use up all my scraps not only because I love all of these fabrics and can't bare to throw them away but in an effort to save money, to do a small bit for the environment and because I want to breath new life into these redundant offspring.
January seems like a perfect month to use up the scraps, maximize my existing supplies, organize my remnant stash and get creative with the possibilities.
Here are some ideas for projects to get crafty with your own scraps:
Butterfly Hair Barrettes


Monster Tooth Fairy Pillows


Flower Brooches

Flower Birthday Cards


Heart decorations


"I'm a little bit of a fabric lunatic" John Malkovich


Good Luck and Good Making!


Sarah Omura


Monday, December 15, 2014

In My Studio: Plastic Bag Dispenser Tutorial


In an effort to save some money this holiday season I decided to make all my sons teachers one of these plastic bag dispensers as a 'green' Christmas present. They are quick and easy to make and useful for every household. Here is a tutorial to make your own for gifts or just for yourself!
Materials
Three different fabrics in coordinating colors.
One piece of thin elastic 16" long
1) Cut the top piece of fabric A into a rectangle 15" by 18"
2) Cut the middle piece of fabric B into a rectangle 15" by 5"
3) Cut the bottom piece of fabric C into a rectangle 15" by 6"
4) Cut a strip of any of the fabrics (piece D) 2" by 10"

4) Fold over 1/4 " and iron fabric C (along the 15" side).

5) Fold over, iron and pin fabric C again, leaving a hem of half an inch.
6) On the sewing machine hem along this edge.

7) Fold over twice and iron the top of fabric A and sew it down (along the 15" side).


 8) Pin and sew the fabric piece B to the un-hemmed bottom of piece A, right sides together.


9) Pin and sew the fabric piece C onto the bottom of the piece you just sewed, right sides together.


10) Iron the seams open on the reverse side.


11) Take your strip piece D and fold in half along the long edge, right sides together and iron. Sew down the long side and then turn inside out to make the long 'handle'. Over stitch along both edges.


12) Mark the center at the top of the main fabric piece and mark 3 1/2" either side of this center point.


13) Pin the tie at these points to the inside of the main fabric making a loop


14) Sew these down.


15) Take the piece of elastic and attach a safety pin to one end. Thread this through the bottom hem and leave hanging out of both ends.


16) Fold along the middle and pin down the sides (right sides together)


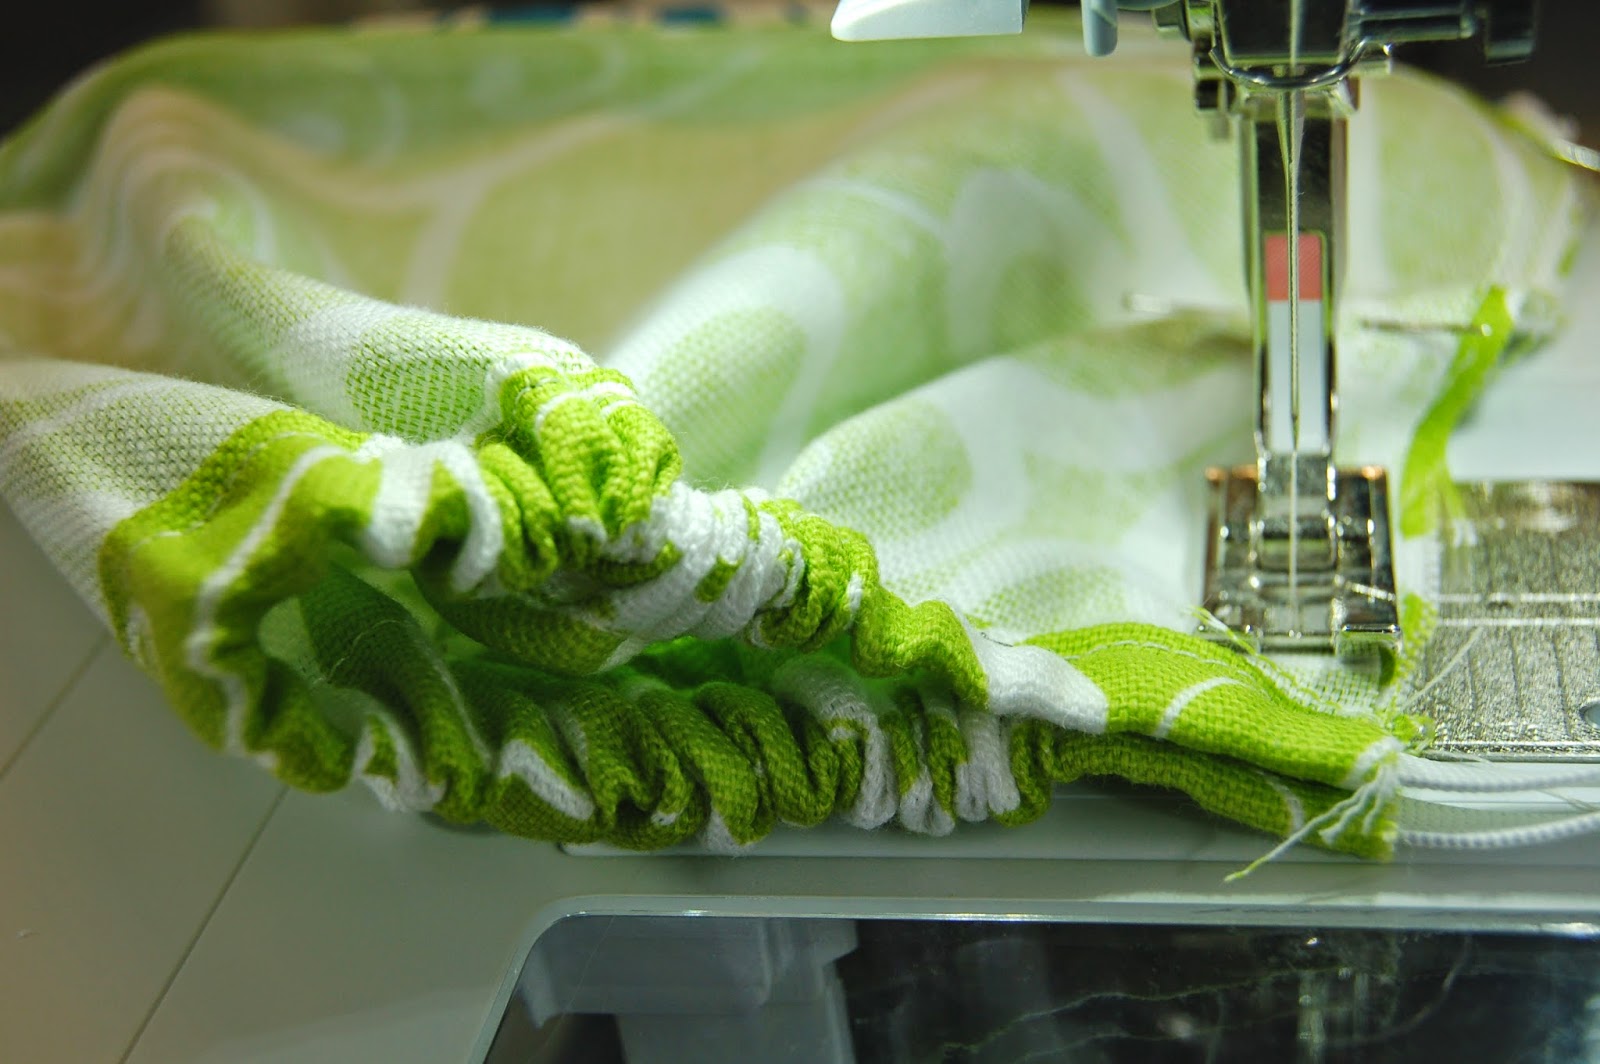
17) Sew down this edge from the top. When you get to the bottom pull the elastic tight (as shown) and continue to sew over the elastic ends. Reverse to make it extra strong

18) Trim the excess of elastic and turn inside out.

19) Hang up and stuff with bags!


Less then 1% of all plastic bags in the US are recycled- help change this frightening statistic


Good Luck and Good Making!


Sarah Omura