Showing posts with label halloween. Show all posts

Wednesday, October 28, 2015

The Pumpkin Song


I've known my friend Debbie for many years and when our children were young 
we got together very often. This time of year we would celebrate Halloween together
either with a birthday party for my son or just a gathering for everyone.
She would always sing the pumpkin song:
(I have no idea who to credit this song to!)

Five little pumpkins sitting on a gate
The first one said,
Oh my it's getting late!
The second one said,
We don't care!
The third one said,
There are leaves in the air!
The fourth one said,
I'm ready for some fun!
The fifth one said,
Let's run and run and run!
Then whoosh went the wind and out went the light
and the five little pumpkins rolled out of sight.

It would usually be her singing alone and the kids would laugh.
This year I was there for her granddaughters birthday party, they had gone 
pumpkin picking and then carved their pumpkins. Of course the song
had to be sung. But what a chorus she had to sing with her, her daughters and
their children and a few friends. It reinforced in my mind how important 
traditions are, even one so simple as a silly song. It binds us and gives us memories.

So this time of year with the holidays fast approaching, we are all scrambling
to get as much done as we possibly can in this last quarter of the year, remember
that it really is the little simple things that leave the most lasting impressions.

Enjoy!

Sue DiGilio - digiliodesigns.etsy.com

Sunday, October 27, 2013

Historic Hudson Valley, Haunted and Full of Pumpkins!

photo via The Great Jack O'Lantern Blaze
There is still time to get an authentic scare! Many of Hudson Valleys historic sites offer amazing events for Halloween. 

The Great Jack O'Lantern Blaze

Pumpkins and pumpkins and more pumpkins designed by local artists  at the historic Van Cortlandt Manor.  They are pieces of art that glow in the dark.   There are over 5,000 carved pumpkins you stroll through with an original soundtrack setting the mood.  There are pumpkins in many forms from sea serpents to dinosaurs to Jack in the boxes.   Great for all ages!

Horseman's Hollow

Philipsburg Manor is visited by the Legend of Sleepy Hollow.  A haunted trail leads you to scenes of horrors and hauntings.  Costumes, creatures and scenes to scare your socks off!  This one is really scary so it is not recommended for kids.

Irving's Legend

Come to The Old Dutch Church across from Philipsburg Manor and hear Master story teller,  Jonathan Kruk, give a dramatic reading from Washington Irving's The Legend of Sleepy Hollow.  It's 45 minutes of the classic tale accompanied by spooky sounds of the organ.  You need to purchase advance tickets and it is recommended for ages 10+.

Owleen:Owl walk at Olana

Learn about one of the symbols of Halloween, the owl.  Bill Robinson from Wildlife Lectures and Audubon NY Education Coordinator Larry Federman will meet you at Wagon House Education Center to give you a brief talk about owls followed by the meeting of a real owl at the center.  They will take you out on a hike to see if you can hear or spot the owls of Olana.

Monday, October 21, 2013

DIY Tutorial: Shadow Box Halloween Decoration

Looking for a unique Halloween decoration? A shadow box is a great way to create your own dimensional Halloween art. Using just layers of paper, you can create a spooky, ethereal scene, great for tabletop or window decor. The same idea can be used for any holiday theme!

Materials:
1. Paper or card stock. I used white card stock, black card stock, silver paper, white and red vellum, and dark blue paper for the background.
2. Shadow box frame.
3. Scissors or X-acto knife with #11 blades.
4. Self-healing mat or cardboard to cut on.
5. Ruler for cutting straight lines.
6. Tape and white glue.

To create your design, you need to plan out how many layers of paper you will use. You can draw your own design, find a design template, or cut out collage images to use. For my shadow box I drew a ghostly image of a mysterious woman amongst the trees. I drew the design on one piece of paper, and marked which parts will go on which layer. I used two layers of trees, the cloaked woman, a background layer, and some separate pieces of vellum to create an effect of mist.

Open your shadow box and measure the inside of the frame. This is the size of your image, but leave some extra room on top and bottom to create a folded flap that you can tape or glue to the sides of the frame. Cut out each layer, leaving a flap on each one. You will cut the flaps down to fit into the box, depending on where your layer sits. You can use an x-acto knife or scissors, making small, slow cuts with a sharp blade. Vellum is usually easier to cut with scissors, but a sharp blade will also work.

I attached the white tree layer first, and added the woman behind them, attaching her to the bottom. The silver trees were spaced behind her. Behind the trees, I added a piece of vellum on the bottom. For the background layer, I attached it to the top of the frame, and left some space open at the bottom to let light in. I cut spaces out of the paper and glued a vellum moon and some more layers of mist onto it. Use a toothpick to apply small amounts of regular white glue, or attach small bits of double sided tape. The vellum adds a nice glow when placed near any light source, and I left the back of the frame open to let the light in. You can protect the back of the frame with a piece of clear acetate or Plexiglas.

The effect this creates is of a mysterious, misty forest, using only paper, light, and the depth of the shadow box. The design options are endless to make your own art and dioramas. You can experiment with different papers and vellum, and also add in 3 dimensional objects. Have fun and a Happy Halloween!

Arwen from Arwen Designs

Thursday, October 25, 2012

Hanging Paper Lantern / Luminary Tutorial


Paper lanterns or luminaries are simple and elegant, and are a great addition to parties and weddings, or as decorations around the home. You can make your own paper lantern with a few simple materials. Here is a tutorial for a small luminary, using one of my Halloween designs.

Materials:
1. Paper. The paper I used is black cardstock and gold vellum. Cardstock comes in many colors and textures. The translucent vellum is what diffuses the light and makes the lantern glow. You can use any color vellum, just keep in mind what color your tea light is, as it will affect the look of the vellum.
2. X-acto knife with #11 blades.
3. Self-healing mat or cardboard to cut on.
4. Ruler for cutting straight lines.
5. Double sided tape or glue dots, double sided foam tape.
6. Battery operated tea light.
7. Ribbon.

You can refer to my tutorial for Cut Paper Silhouettes for ideas on finding a design and transferring it to paper.  For black cardstock, I would use the method of laying a print of the design on top of your cardstock, and cutting through both layers. Another method is to use transfer or carbon paper to trace the design onto the cardstock.

Measure the width of your tea light, then add a little extra space. This is the width of your bottom piece. I used a standard tea light, and made the bottom 2” wide. Then measure an equal distance on either side. I used an 8.5” x 11” sheet of paper for the whole design, cut in half, so that the whole piece laid flat measures 11” x 4.25”.

Transfer your design onto the cardstock. To make a double sided lantern as shown, you will need to flip or reverse the design on the other side (like a mirror image). Make sure your design leaves enough of a border so that the cardstock will be sturdy. Too thin of border will make it weak once everything is cut out. On the top of each side, I added a small handle with a hole for ribbon to go through. This was added in the design, so it is all cut out of one piece of paper.

Cut the design out with your x-acto knife, on your self-healing mat. Make slow, small cuts, and make sure your blade is sharp. Since cardstock is thick, you may have to go over some lines more than once, especially any corners. Score lines to fold where you measured your bottom 2” area, and fold the sides up. The picture shows how it looks once the two sides are cut out, and the lines are scored.

Cut out two pieces of your vellum, slightly bigger than the opening of your design. Attach these inside using double sided tape or glue dots. Position your tea light on the bottom piece, and figure out where the on/off switch is. Cut a small hole in the bottom so that you can reach the switch. Attach the tea light to the bottom with double sided foam tape.

Attach the paper together at the top with tape or glue dots, and tie a ribbon or cord through the hole. Turn on the light and enjoy your creation! You can sit this on a table or hang it from the ribbon. Hang a row of lights in a darkened room to create a magical atmosphere!

The luminary pictured here is available in my Etsy store.

Arwen from Arwen Designs

Monday, October 22, 2012

Halloween - Fall Gifts

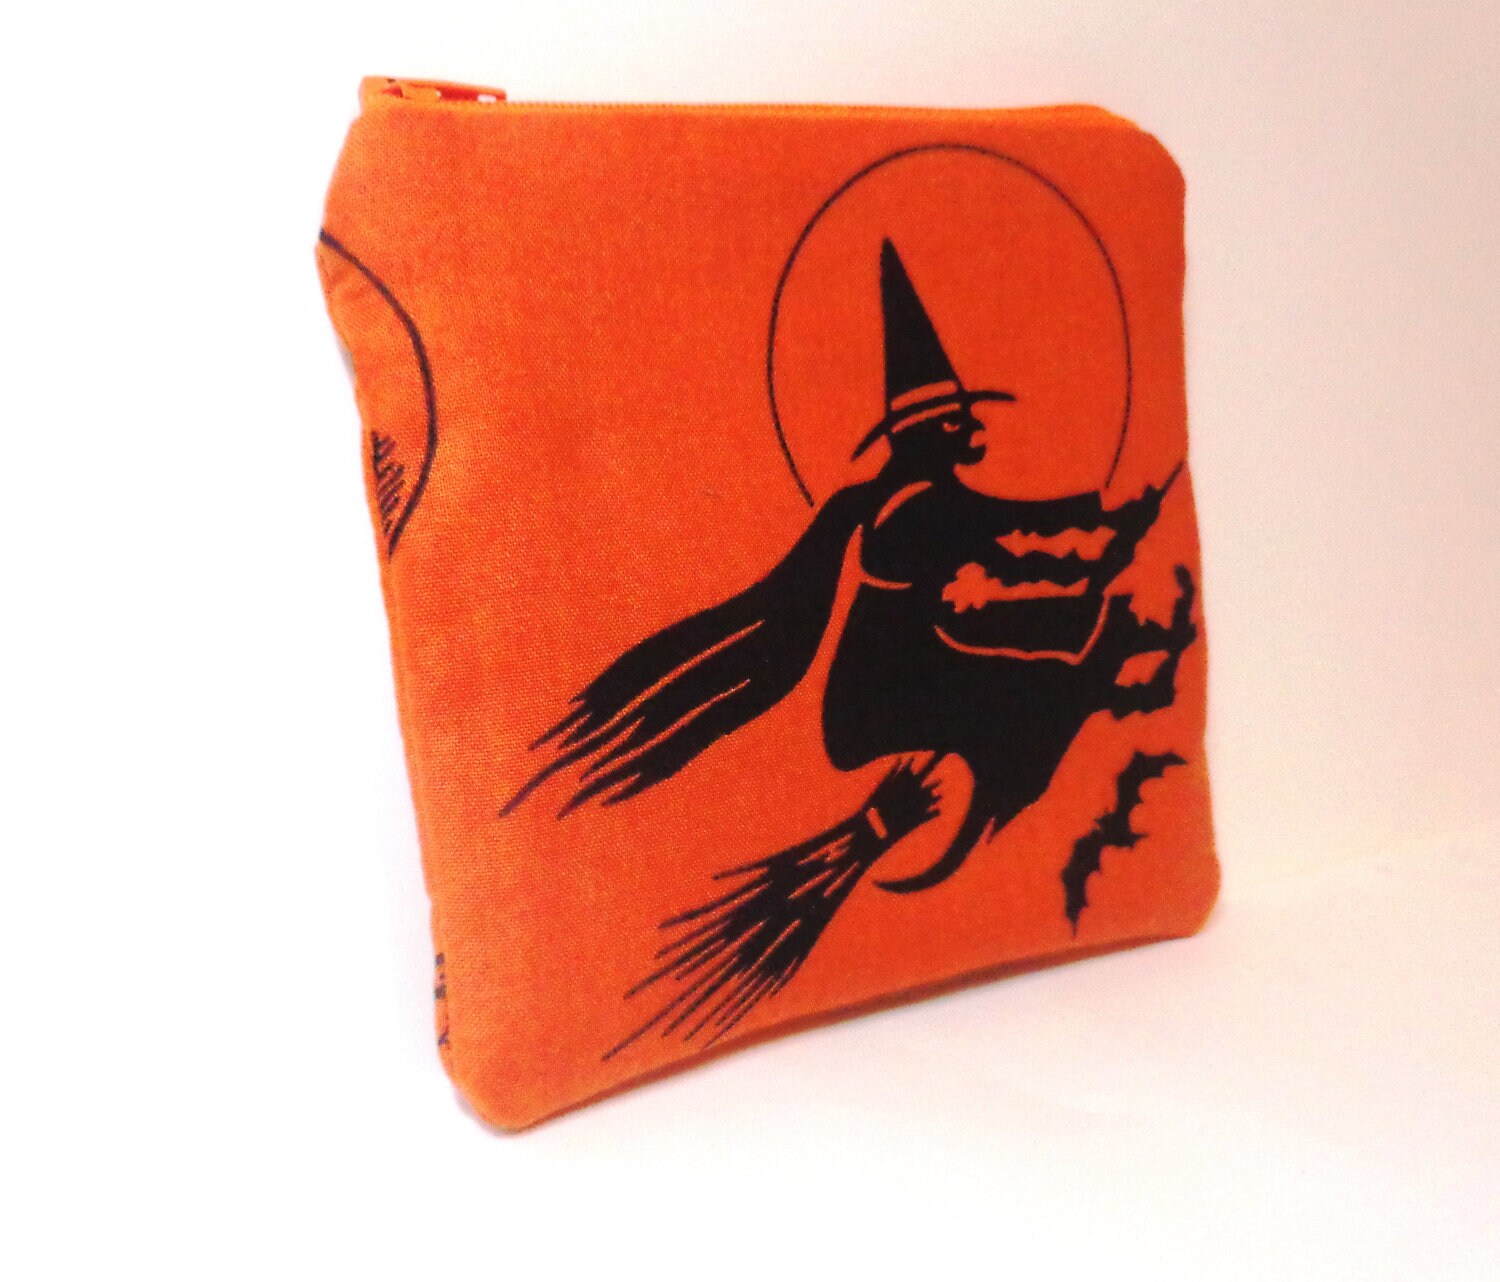
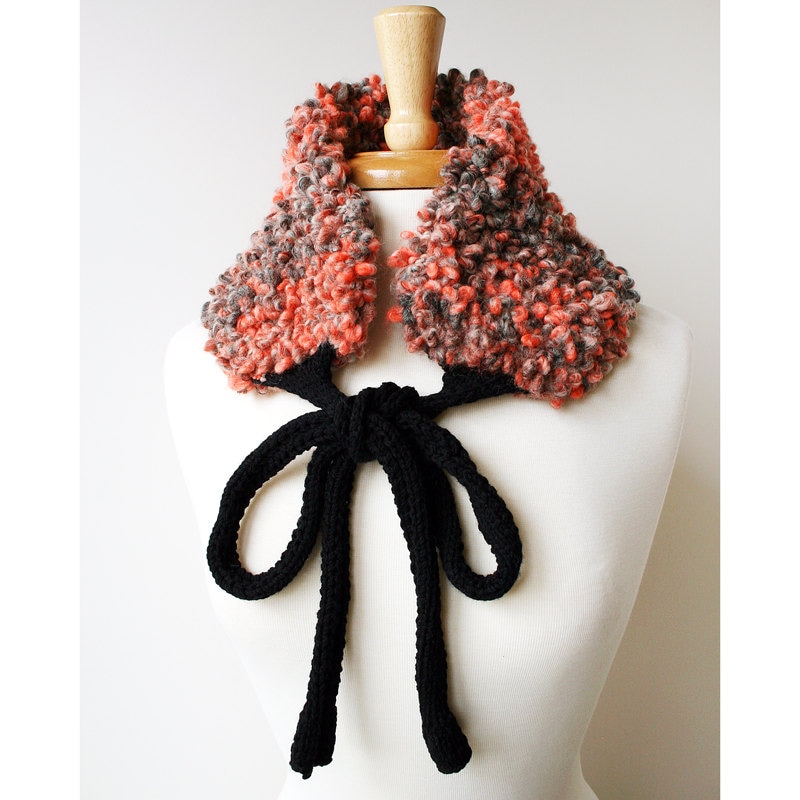
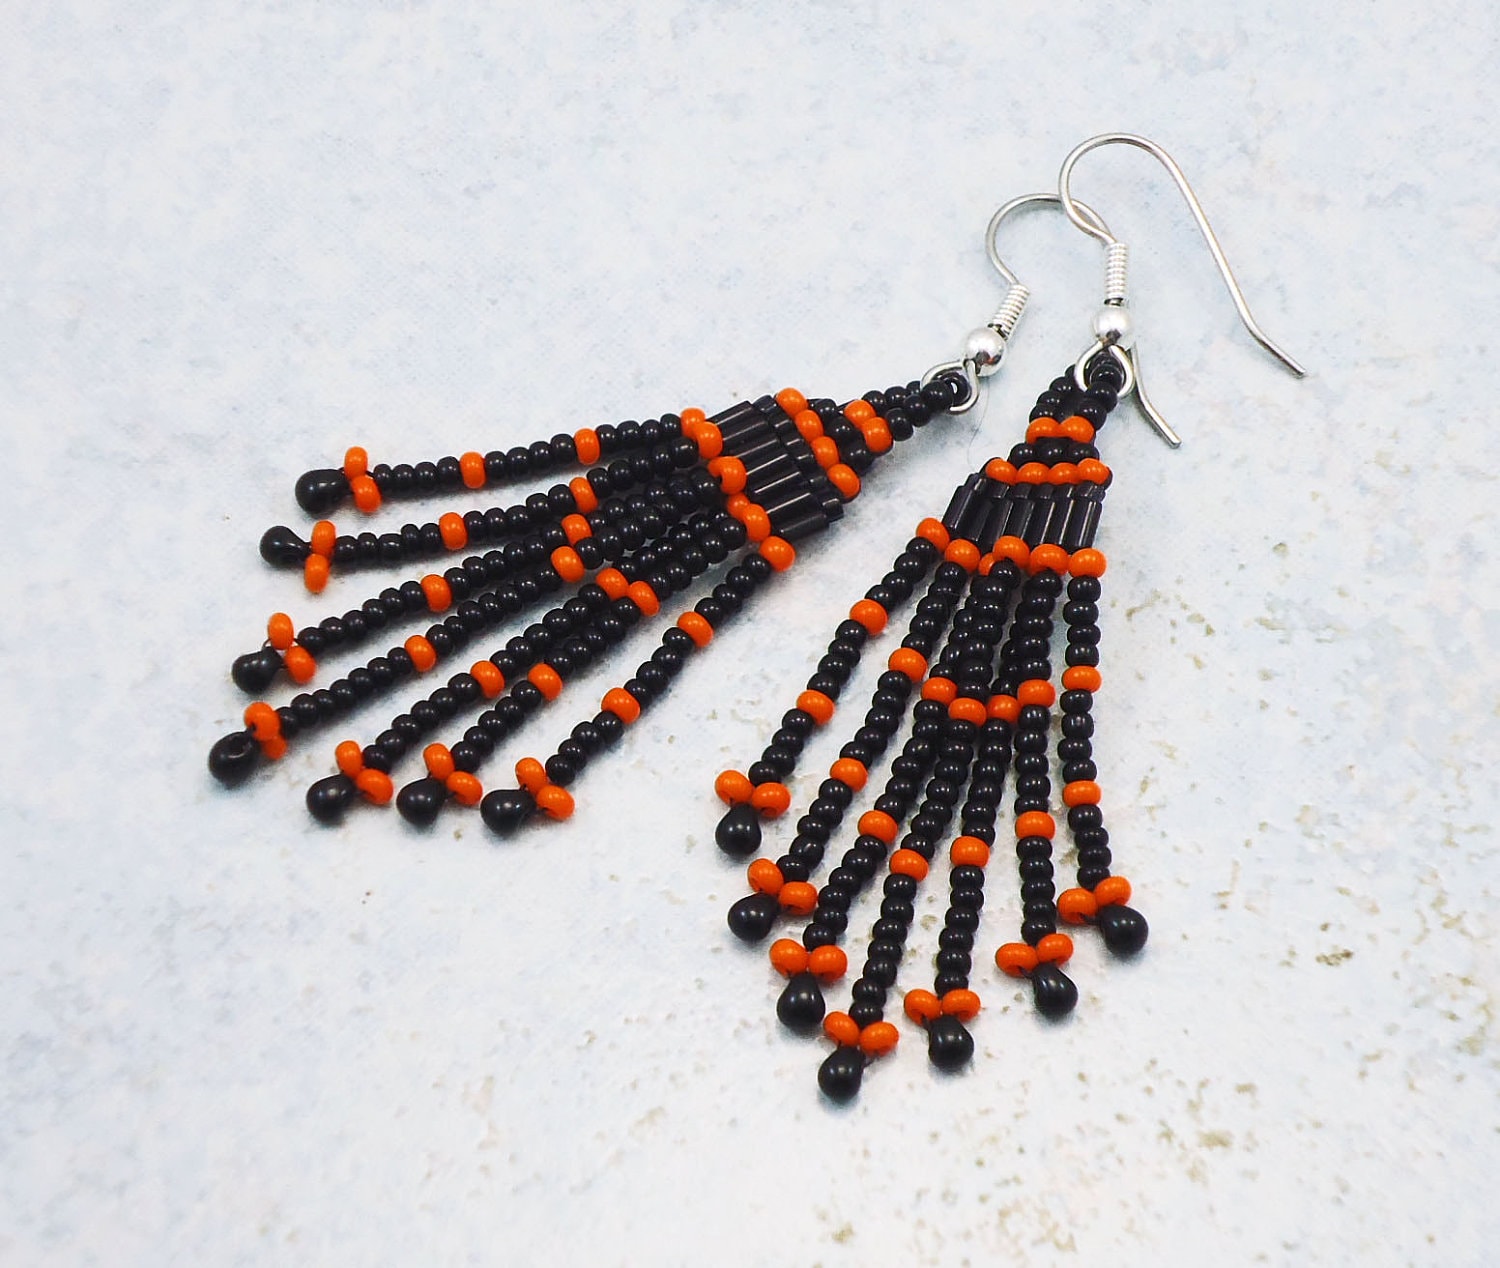
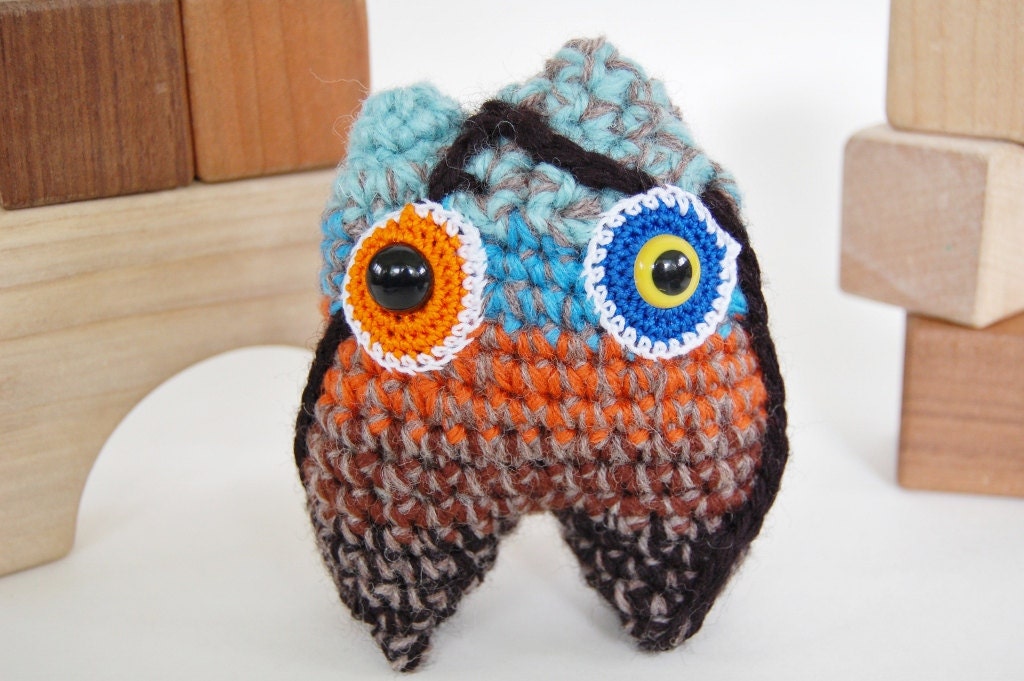
For many of us on the team, the Fall is our favorite time of the year. It's an extra bonus living in the Hudson Valley where we get to experience the color changes and all of the festivities that take place. So here are some items from the team to put you in the spirit of the season (not THAT season, it's still early). You can see more of the teams Halloween items in this Etsy thread.

Etsy has also announced last week that you can now purchase Gift Cards directly on the site.  Just remember to think of the Hudson Valley Etsy Team when you do using the tag "hvnyteam".


Saturday, October 22, 2011

Last Minute Halloween Pumpkin Designs (No Knife Required)

Halloween is a week away but there's no need to stress if you still haven't done your pumpkin carving activities.  My boyfriend paints pumpkins for his nephews every Halloween, usually the faces of their favorite super hero characters.   I came across some fun ideas from realsimple.com that is fun for the kids and no gooey pumpkin innards need to be gutted.


I always like the traditional. :) Eight more days till Halloween! Halloween! Halloween!

Wednesday, October 27, 2010

Halloween DIY

Too tempted to eat that big bowl of candy yourself while waiting for trick or treaters to show up? Or maybe you can't even wait till Sunday to start munching! Below are some links to some great Halloween tutorials to keep you busy...

Templates for pumpkin carving from The Poughkeepsie Journal

How-To: Make Spooky Skeleton and Witch Gourd Place Cards from Craftzine. Check out their archives too, good stuff!


And for the end of the night, Black Widow Cocktail