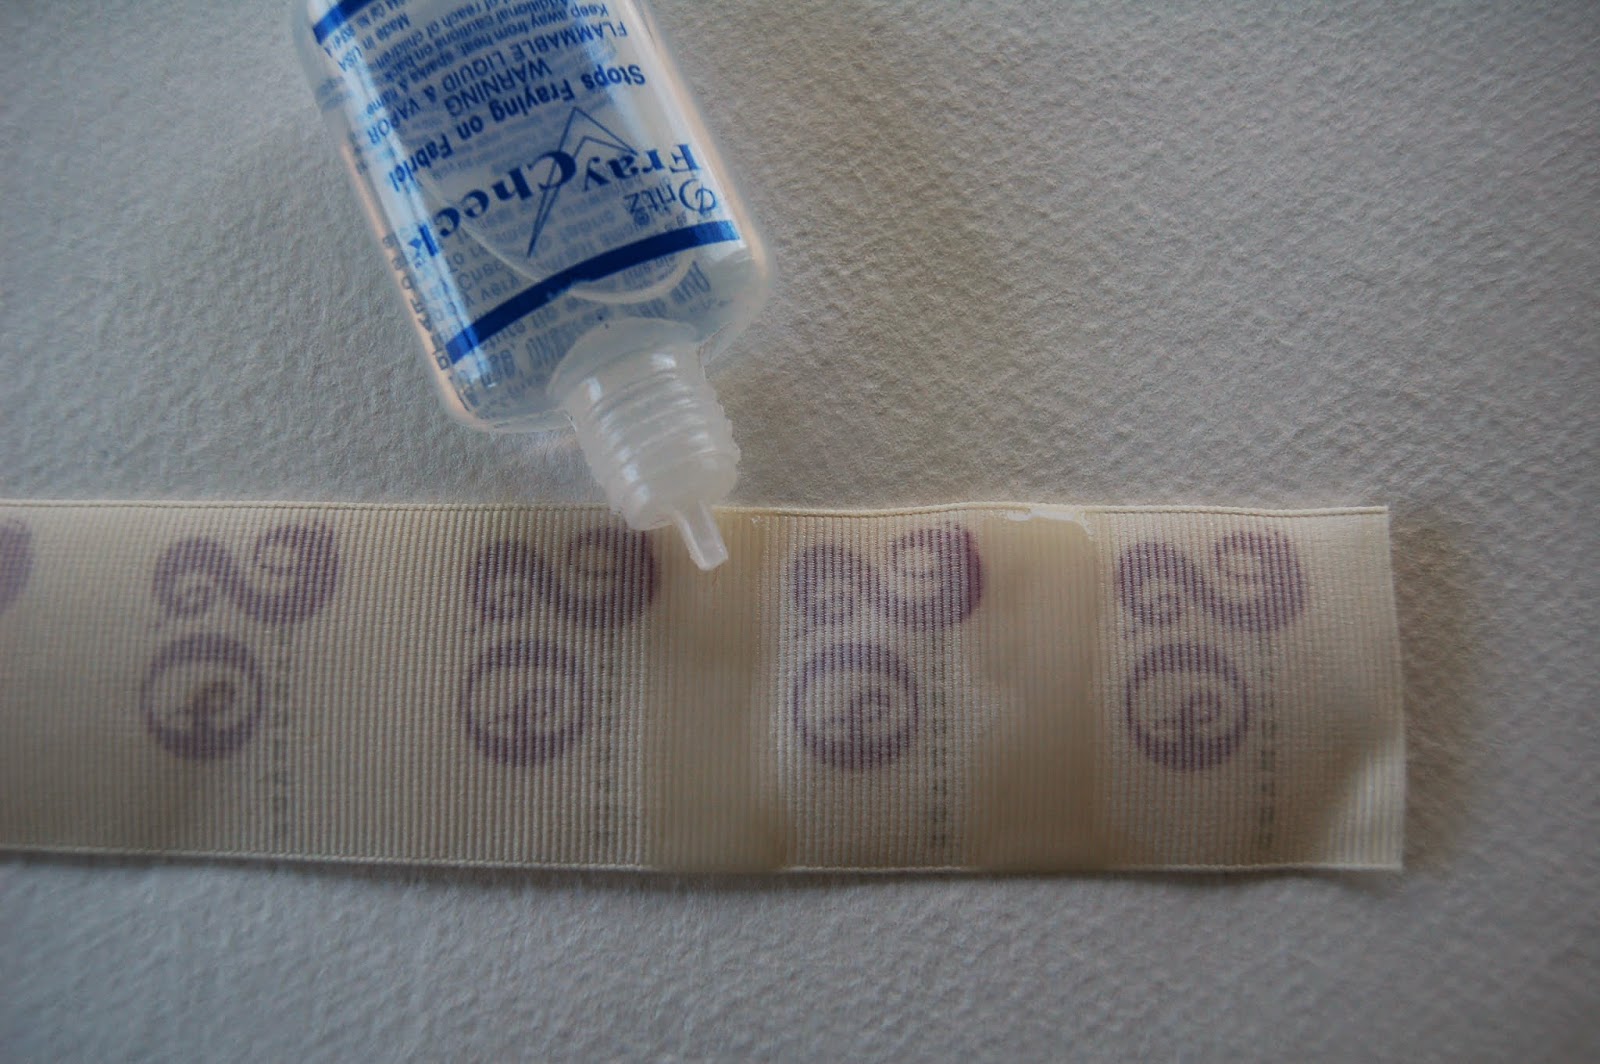
In order to save money buying in professionally made custom labels I have been making my own. The results look great and are very easy and cheap to do. In this tutorial I give you the steps in order for you to make your own:
Materials
Printable transfer paper
Fray Check
Iron
Sharp scissors
Ribbon
Method
1) On your computer take a copy of your logo and insert it into a word document. Measure your ribbon and scale the logo so it will fit onto the ribbon. It will look best if the background of your logo is left white.
2) Once its the correct size click the 'format' tab at the top of the word document. Find the 'rotate' tab and click the option 'flip horizontally'. This will invert your logo so that it will be the correct way around when printed.
3) Copy this version of the logo and paste in columns on the document (as below left). Print this document out onto the transfer sheet making sure you print on the correct side of the paper. Cut into strips (below right)
6) Once dry cut the labels
7) Apply the labels to your products, remembering not to iron over the label once its been attached as this will melt it.
Good luck and good making!
Sarah Omura - So Handmade


2 comments:
That's a great way of making labels! Thanks for the DIY!
So simple! Thanks for the tips!
Post a Comment