Showing posts with label photography. Show all posts

Monday, February 2, 2015

Photographing My Etsy Items

One of my goals this year is to revamp all my photos in my Etsy Store.
I started with my new listings of my 5x5 art squares:

This is a wall in my studio that I hung a white washed shelf on. I chose white/neutral items for this shot to accessorize the art.

Same shelf with vintage glass, I wanted to focus on the blue in this series.

This was all shot with my 'vintage' Canon Power Shot A530 which is only 5.0 mega pixels.
It is all depending on a sunny day and between the hours of 11:00am and 2:00pm otherwise the light isn't there. The only bright enough light available to me in the late afternoon or early evening are the fluorescent lights that are on one side of my studio.

I asked for this light box for Christmas and my son kindly purchased it for me. It is very reasonably priced and nice and compact.

So this evening in order to get this posted I played with it for a bit....taking the photos with my phone.

The room is very dark as you can see.

The two side lamps came with the photo box and I added the clip on one above.


The photo on the left is under the fluorescent lights and the one on the right is in the photo booth.
The glare off the glass is much softer and the overall color is softer and more true.


Again the photo on the left of the vintage Valentine is under the fluorescent lighting and on the right the photo booth. Again the photo booth one has a truer color and softer appearance.

Now I do realize that comparing the two light sources is like comparing apples and oranges, but as far as making a photo shoot more available to me in the evening or on a cloudy day is the benefit for me.

I am excited to start playing around with the photo booth and revamping my store.

Susan - Digilio Designs

Monday, November 10, 2014

In My Studio: How to make a Family Photo Wall


After a wonderful summer family photo shoot I finally got around to hanging some of the photos along with some old favorites. I thought I would share with you how I went about doing it and the final results.

1) Firstly I looked at the space which I wanted to hang the photos and decided I wanted to hang nine photos in a square formation.

2) Next I looked through my files of pictures and made a selection of photos I liked. I made a folder of possible photos to use.

3) I then looked at the shortlisted folder to see if there was a common color running throughout the collection. Selecting a common color such as this will make for a more cohesive collection and more pleasing results. Looking at my folder of photos I saw that a common color shared by some of the photos was red. The photos that did not have any red in I decided to print out in black and white instead.


Grid marked on a piece of paper
4) I wanted to frame the pictures in very simply clip frames which do not have a border. I ordered these from Quadro Frames which offered a good range of sizes, I went for a pack of 10 x10 inch frames.

5) I downloaded my selected photos onto Mpix as this website offered 10 x 10 as a standard size. I cropped the photos to become squares during the ordering process. For the photos I would be printing in color I selected the Fuji Pearl finish which gives the pictures a gorgeous pearlised sheen. I selected black and white for the photos which did not fit into my color story.


Grid taped to the wall in the correct position
6) After receiving my frames and photos in the mail and putting them together I then marked a grid on a large piece of paper. This grid showed each frame in an exact square formation with the same width between each photo.


7) I taped this on the wall ensuring that the top line was exactly horizontal using a spirit level. I then hammered in the picture hooks through the paper.

8) When all the tacks were in place I ripped the paper off and hung the pictures up.


9) I moved them around and tried different orders before I settled on the final layout:


I was very pleased with the results and wondering which wall to tackle next.......

Good Luck and Good Making!

Sarah Omura
So Handmade

Tuesday, January 21, 2014

January New Members

It's a new year and the Hudson Valley Etsy Team has some wonderful new members. I hope you'll enjoy them and give everyone a warm welcome!

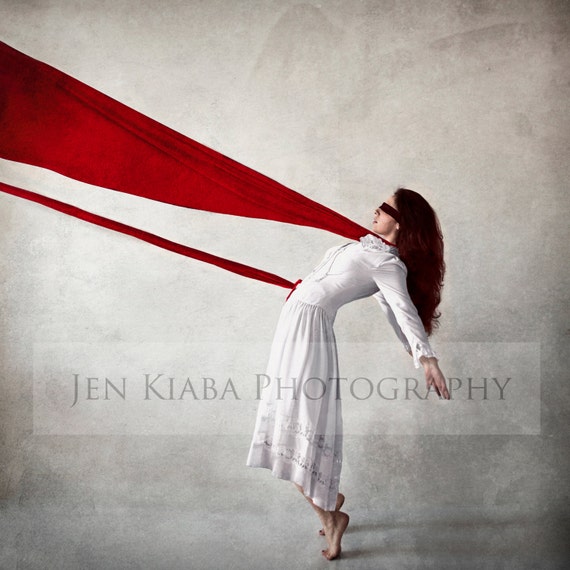
The Aerialist - Surreal Conceptual Fine Art Photography Print by Jen Kiaba Photography
Jen Kiaba is a photographer based in Rhinebeck, NY.  She offers some wonderful, surreal, dark, and creative photographic art.  They're all gorgeous, and I'm sure would look great  on your wall! (It would on mine, at least.) Welcome to the team.

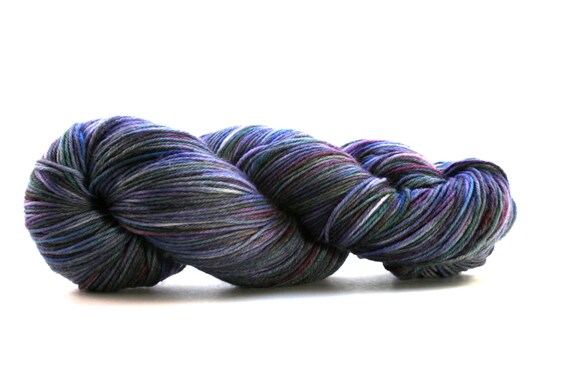
Hand Dyed Sock Yarn, Superwash Merino Wool and Nylon: Meteorite by RiptideeDyeWorks
Dario Cavaliere of  RiptideeDyeWorks colors his yarns in Scarsdale, NY.  His shop is filled to the brim with lovely, hand-dyed yarns in a nice array of colors.  I wish I knew how to knit so I'd have a reason to get them! Happy to have you.

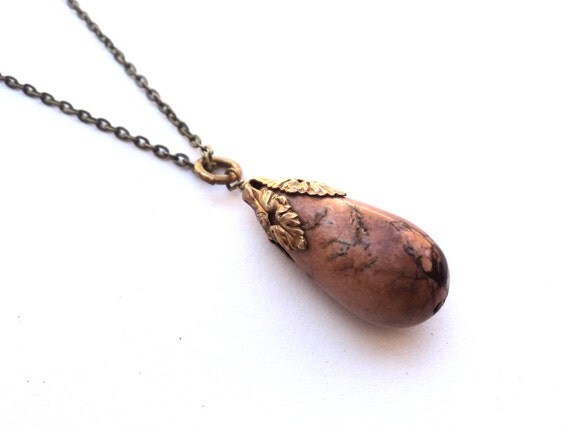
necklace, Jasper, Lariat, Drop, Floral, Red by SimoneSutcliffe

Simone Sutcliffe creates her work in Kingston, NY.  She specializes in wonderful tribal style jewelry using vintage materials.  Her creations are sure to make a statement wherever you go!  Hope you like it here.

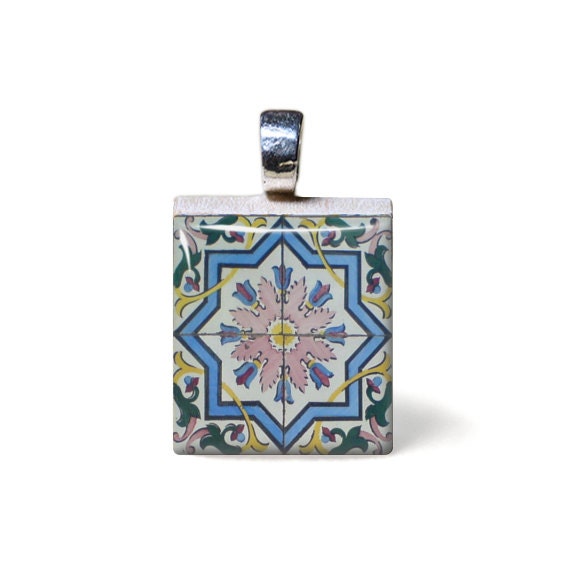
Antique hexagono Portuguese Ceramic mosaic Tile Scrabble Pendant by TarryTiles


TarryTiles are made in Tarrytown, NY and all are super cute!  Their family-run shop is just chock-full of these small, ceramic tiles with everything from photographs and saying to illustrations, with tons of different themes to choose from.  Glad to have you!

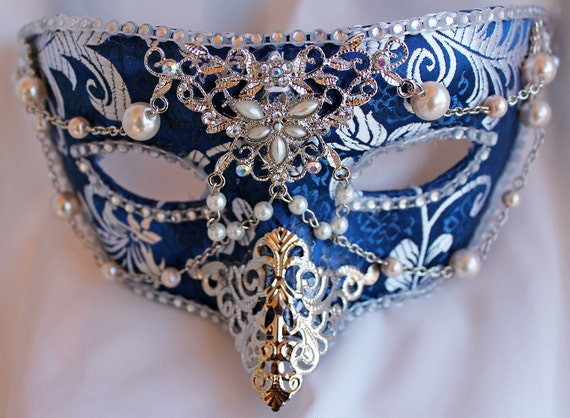
Royal Blue Brocade Bird Masquerade Mask with Diamonds and Pearls by DaraGallery

Last but certainly not least is Dara T of DaraGallery who is based in Shandaken, NY.  Masks (and a handfuls of other items) fill her shop pages.  They're elegantly decorated with lush fabrics, beads, and even some metals.  They just ooze fantasy and would fit in the most elegant masquerade party.  Welcome!

So there you have our first batch of new members for the year! Check them out, give them a warm welcome, and maybe pick up something for your sweetie.  Remember Valentine's Day is coming!

Enjoy,

Monday, December 17, 2012

The Ever-Cool Gel Image Transfer Technique: A Tutorial.


Hi! I'm Jill from Entropic Grace, an artist in Cold Spring, NY. About a year ago, my husband Mike and I were taking a walk along the banks of the Hudson River in town when we spotted some absolutely stunning pieces of driftwood. Perfectly smoothed, they were just breathtaking. So we picked them up. Then we spotted more, and picked those up, too. And so on, and on...

Being artists, naturally we were thrilled with these found treasures, and we happily piled them into our car. Once at our house, the driftwood remained in our shed for, umm, a while, until my husband came up with the divinely-inspired idea of transferring images from old photographs onto some of the pieces using the tried and true method of Gel Medium transfer. We fell in love with the results, and so I have decided to share this time-honored method of image transfer in this tutorial. Enjoy.

Gather Your Materials. You will need some really cool pieces of wood and the means to cut it if necessary. Your supply list includes: laser prints of the images you want to transfer, sandpaper, brushes, an old rag or tee shirt, a tape measure, straight-edge, gel medium, Mod-Podge, white latex paint, scissors, and an old credit card. And some hot coffee and good music help, too.

Check out the instructions after the jump