DIY: Matting & Framing Your Art
Part 1
Tools, Material and Equipment
mat knife or x-acto blade
mat cutter with straight and bevel cutters
long straight rule 30"-36"
acid free backing board or foamcore
When I decide to show my art at an art show, I do most of my own matting and framing to save on costs and to present my work in the manner I prefer. I was taught the basics of this skill in a Printmaking class in art college and it really does come in handy. It isn't very hard but it is time consuming, so this DIY is in three parts. Since I do most of my art on illustration board, this means removing the acid free surface layer that the image sits on from the heavy backing board. I cut a slit along one edge with an x-acto blade and begin carefully pulling the top white layer away from the backing board.
Once I get enough of a lip going, I use an old mailing tube to begin rolling up the top layer. This is done by holding the paper tightly to the tube and separating the two layers very slowly and carefully, checking all the time that I'm not ripping through the image.
The top image layer may tend to curl after this, and I just slip it under some heavy boards for a few days until it flattens out.
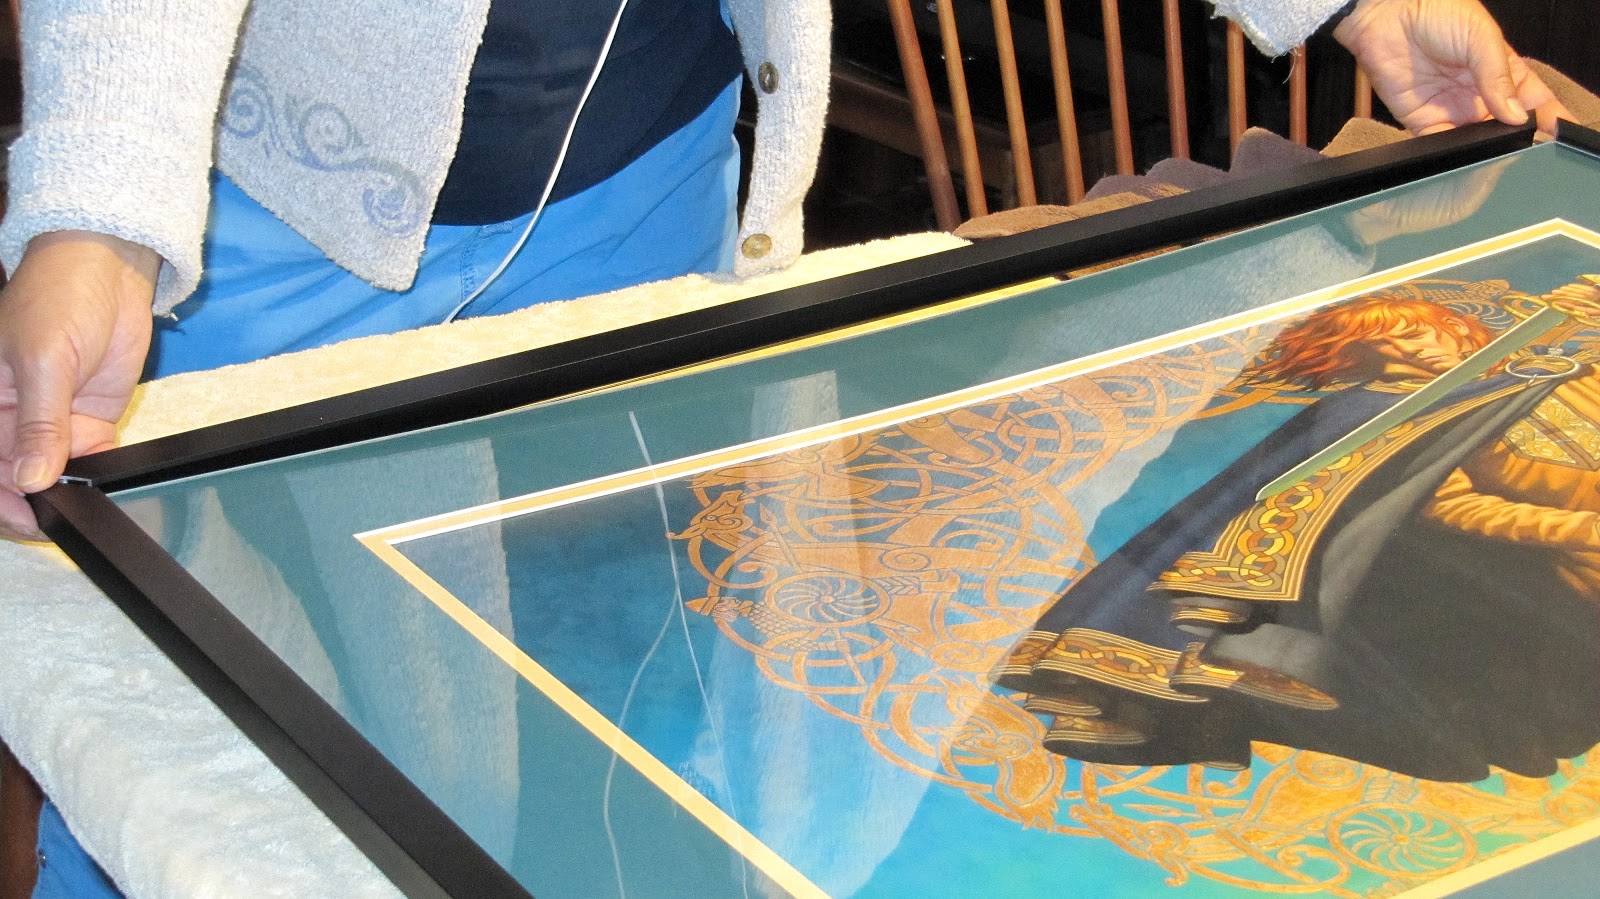
I choose to double mat my art, and I look for board colors that will enhance and complement the artwork. Because this art had a brown and ivory center with a black border, surrounded by blue gray stone flowers, I thought a brown and beige mat with a black frame would suit it best. I use Bainbridge Alphamat and an acid free foamcore board for the new backing board. The acid in normal, everyday papers cause it to yellow, become brittle and decay in a few years so that is why we want to avoid using anything that isn't acid free or 100% Rag.
I measure the art, leaving 1/4" to be covered by the mat, while the "arms" of the mat will be 3 3/4" wide. You can choose what ever width you like, but the larger the art, the greater the width should be. I usually do 4" or more, but I think this artwork had some odd dimensions for framing. Note that I don't talk about the width of the opening. I find it easier to deal with consistent small numbers measured from the outside edges.

I cut all three boards (Brown mat, Beige mat, Backing board) to the dimensions of the framed art, which I decide will be 26"x30". I have a Logan mat cutter that is 25 years old and still going strong, and I use it for all my mats and boards. Like they say in carpentry, measure twice, cut once. Acid free mat boards are expensive and you don't want to mess one up. I usually do my cutting on a table in the basement but I needed more room and more light since I was photographing the process. So I laid out some towels on my dining table and put the mat cutter on them. This protected the table and all the items laid out on it.
The Logan comes with two cutters: a straight edge cutter and the bevel mat cutter. Both run on the silver track for straight, perfect cuts.
This is how I mark my boards: the lowest mark is the straight cut line for the outside size of the mat, while the straight horizontal line is for the horizontal mat cut and the tiny vertical line just above it marks the end of that cut and the start of the vertical mat cut. The lowest layer is going to be beige, and each arm will be 3 3/4" wide. The picture below is of the brown mat that will go on top of the beige, and so needs to be a thinner width so the beige will show through. The brown layer's arms will only be 3 3/8" wide. The two mats should not have the same size of "arms" or the same size opening.
I slip the 30/32" x 40" board beneath the straight edge arm of the mat cutter.
Making a straight edge cut to reduce the board down to 26" x 30".
Now for cutting the mat openings, I change to the bevel mat cutter and place the mat on the cutting board so that the long pencil lines of the horizontal cuts are visible to me. Line up the cutting arm with the small vertical marks. My version of the Logan mat cutter needs a scrap board inserted below the mat or the mat blade will cut into the pressboard surface of the mat cutter itself. So I save my 30" or 40" pieces of mat board that I just cut off to use for that.
Begin and end by lining up the bevel cutter with the long horizontal pencil lines. You see there are two lines? Well, I measured incorrectly the first time, but caught my mistake when I checked it. This is why I need only two long horizontal pencil lines - so I can see when my blade cutter lines up with my markings at the top of the cut, and the bottom of the cut. When I cut along the pencil lines I will use the vertical cuts I made as marks as where to begin and end.
When your blade gets dull, change it! This is what happens - the cut doesn't go all the way through and one gets a ragged edge. I gently sand off this rough edge with super fine sandpaper. I was framing 3 pieces of art at this time, so the mat below was for another painting.
![[Etsy+avatar.jpg]](https://blogger.googleusercontent.com/img/b/R29vZ2xl/AVvXsEjy-m7XOnnBLpa5pPEP1jFl_-VoSmo33fa3skRwhtgC8zGeLzzuVu-pr8UpZ9em9IT2Sb6deStMZtIebwuYkjxYwod3Crg3yOwMaCYu7EhPZgzUF4zm4xoO8bU3FtNVWwYm5J0vAsvrzTMc/s220/Etsy+avatar.jpg)


