

Saturday, October 27, 2012
Signs and Guideposts for the Creative Life
"We are cups, constantly and quietly being filled. The trick is, knowing how to tip ourselves over and let the beautiful stuff out." Ray Bradbury
 Sometimes it might feel like it's a struggle to maintain our creativity - to find the time, to figure out the right expression, to juggle conflicting needs and desires. I see this quote as a good followup to last week's post which was about considering creativity as a way of life. What I like about Mr. Bradbury's statement is the suggestion that we are being filled whether we're intending it or not. Perhaps we just need to ensure we are not being filled with junk of our own making, that we're saving a little space for what might be offered to us. And then somehow we have to be sensitive to when it's time to share what has quietly been developing within us. This idea makes me take a slow breath, with an exhalation that releases tension I hadn't realized was building.

Friday, October 26, 2012
Where To Find The Hudson Valley Etsy Team This Weekend
We're taking a quick breathing break before the busy Holiday season, that is, all of us except Beyond The Picket Fence who'll be selling at the Middletown Farmer's Market on Saturday, October 27, from 8AM-1PM for the last time for this year!
I just placed and received my first order from BTPF and let me tell you, Gwen makes some awesome products! My favorite so far is her laundry detergent, smells great, my clothes got super clean and the colors are as bright as ever, and don't forget, Mother Nature is happy too (and of course all the happy animals - no animal testing!). So go and stock up!
Happy Shopping!
 |
| Beyond The Picket Fence |
 |
| Beyond The Picket Fence |
Thursday, October 25, 2012
Hanging Paper Lantern / Luminary Tutorial

Paper lanterns or luminaries are simple and elegant, and are a great addition to parties and weddings, or as decorations around the home. You can make your own paper lantern with a few simple materials. Here is a tutorial for a small luminary, using one of my Halloween designs.
Materials:
1. Paper. The paper I used is black cardstock and gold vellum. Cardstock comes in many colors and textures. The translucent vellum is what diffuses the light and makes the lantern glow. You can use any color vellum, just keep in mind what color your tea light is, as it will affect the look of the vellum.
2. X-acto knife with #11 blades.
3. Self-healing mat or cardboard to cut on.
4. Ruler for cutting straight lines.
5. Double sided tape or glue dots, double sided foam tape.
6. Battery operated tea light.
7. Ribbon.

You can refer to my tutorial for Cut Paper Silhouettes for ideas on finding a design and transferring it to paper. For black cardstock, I would use the method of laying a print of the design on top of your cardstock, and cutting through both layers. Another method is to use transfer or carbon paper to trace the design onto the cardstock.
Measure the width of your tea light, then add a little extra space. This is the width of your bottom piece. I used a standard tea light, and made the bottom 2” wide. Then measure an equal distance on either side. I used an 8.5” x 11” sheet of paper for the whole design, cut in half, so that the whole piece laid flat measures 11” x 4.25”.
Transfer your design onto the cardstock. To make a double sided lantern as shown, you will need to flip or reverse the design on the other side (like a mirror image). Make sure your design leaves enough of a border so that the cardstock will be sturdy. Too thin of border will make it weak once everything is cut out. On the top of each side, I added a small handle with a hole for ribbon to go through. This was added in the design, so it is all cut out of one piece of paper.
Cut the design out with your x-acto knife, on your self-healing mat. Make slow, small cuts, and make sure your blade is sharp. Since cardstock is thick, you may have to go over some lines more than once, especially any corners. Score lines to fold where you measured your bottom 2” area, and fold the sides up. The picture shows how it looks once the two sides are cut out, and the lines are scored.

Cut out two pieces of your vellum, slightly bigger than the opening of your design. Attach these inside using double sided tape or glue dots. Position your tea light on the bottom piece, and figure out where the on/off switch is. Cut a small hole in the bottom so that you can reach the switch. Attach the tea light to the bottom with double sided foam tape.
Attach the paper together at the top with tape or glue dots, and tie a ribbon or cord through the hole. Turn on the light and enjoy your creation! You can sit this on a table or hang it from the ribbon. Hang a row of lights in a darkened room to create a magical atmosphere!
The luminary pictured here is available in my Etsy store.
Arwen from Arwen Designs
Wednesday, October 24, 2012
Inspiration Wednesday
 |
| Design-Seeds Autumn Swirl |
Don't worry today is not the reveal day, that is next week. I wanted to share with you a few items from the wonderfully talented members of the Hudson Valley Etsy Team! Since you have a whole extra week I hope you will join me by linking up your items next week.
 |
| handjstarcreations |
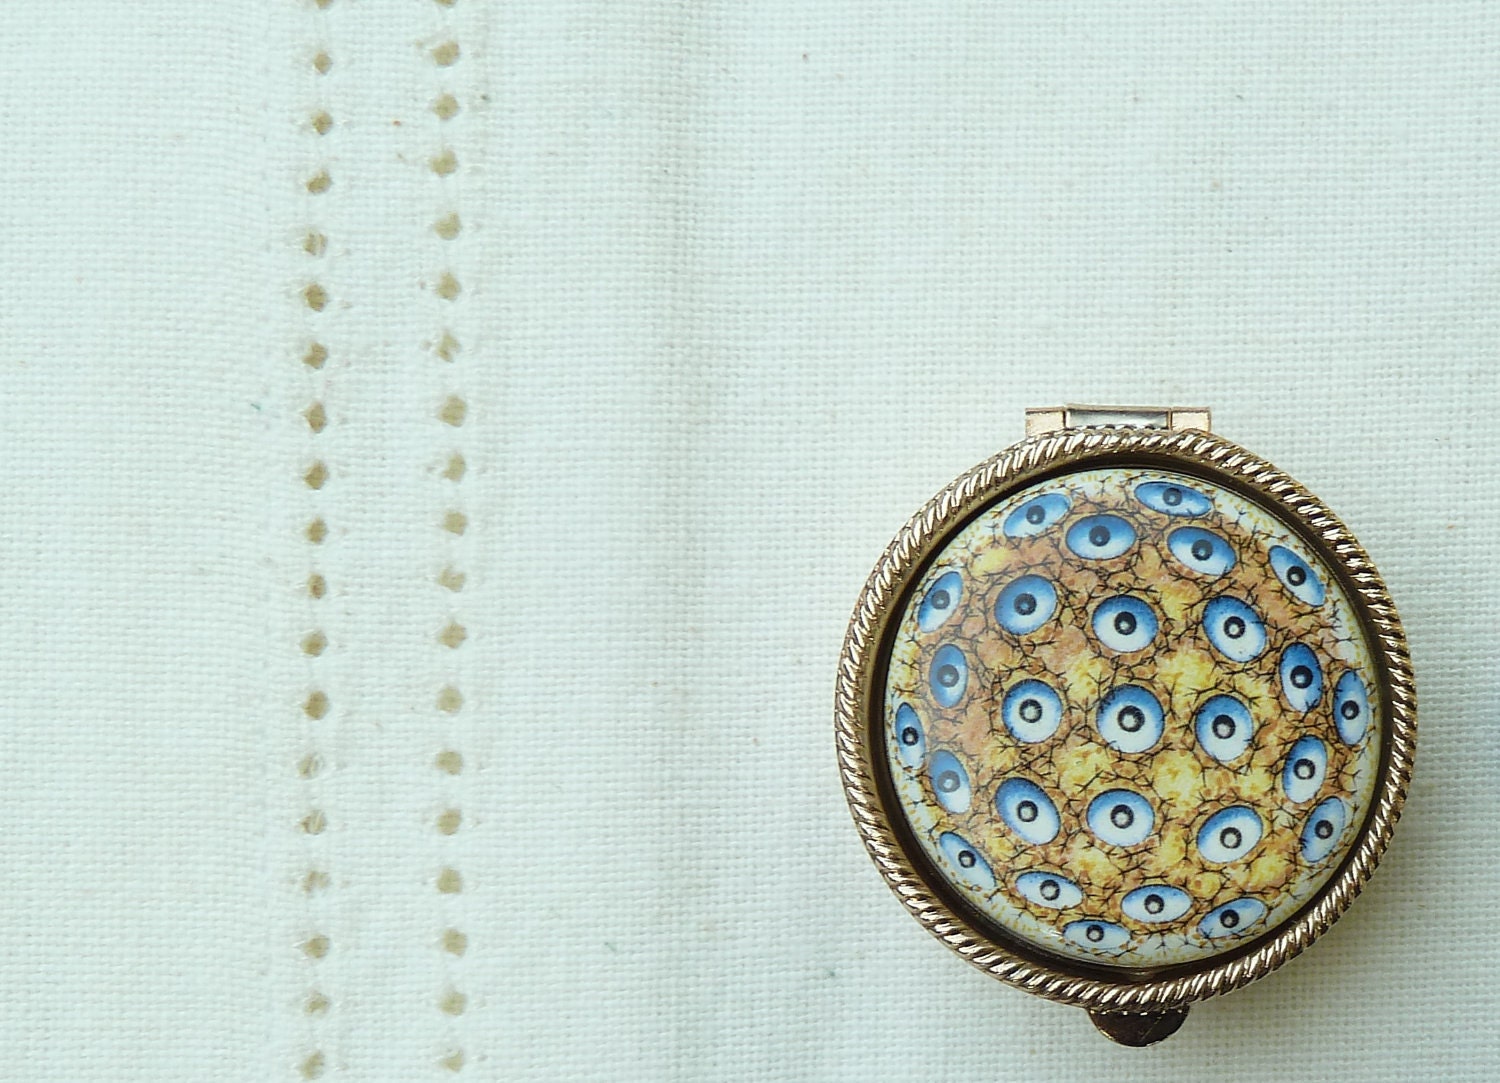 |
| MilestoneDecalArt |
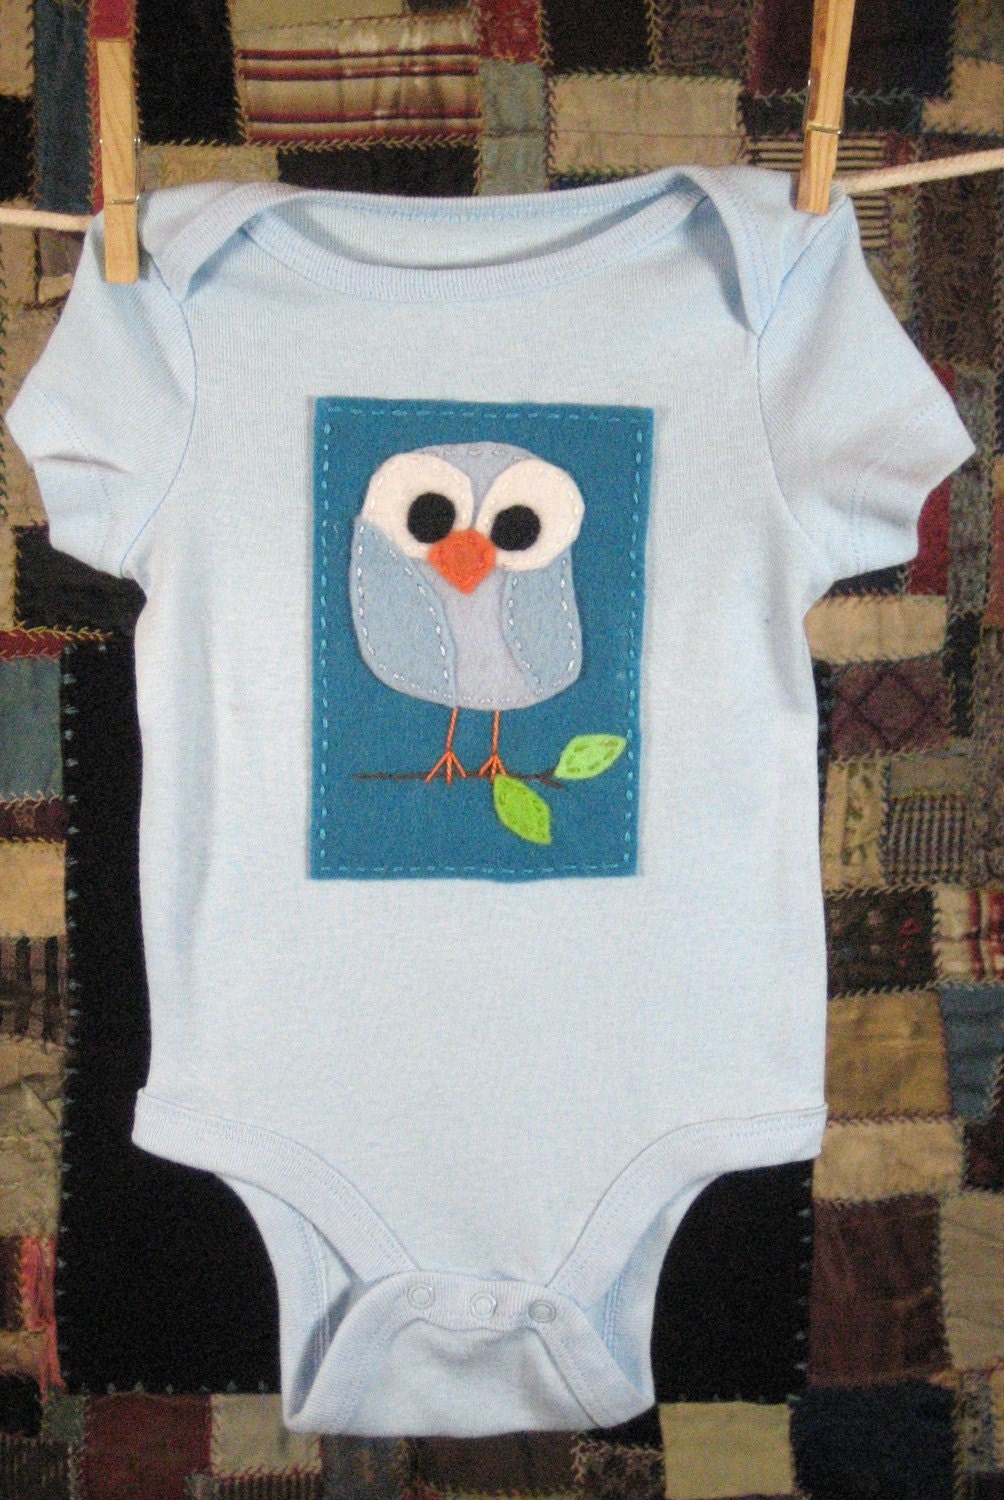 |
| FELTITNYC |
Join me next Wednesday and link up for Inspiration Wednesday - Autumn Swirl.
~Shannon
Tuesday, October 23, 2012
Have You Seen This?
The seasons are changing, we're digging out the cold weather clothes - happy to see some old favorites and wondering if it's time to let go of that old raggedy skirt that you have worn into the ground. There's also the holidays coming on, sooner than we're ready for, and the party clothes could use an upgrade. Myself, I have just 40 lbs of tonnage and I have hungry eyes for some new things for my incredibly empty closet.
Check this out! Color, pattern and style wrapped (excuse the pun) in a modern design that can be dressed up or down to take you anywhere. Nice simple neck with a purple landing spot for a fabulous statement necklace. Boots or pumps could rock this. I love this dress! (PS - does anyone else covet that beautiful red hair on the model?) When you go to the listing be sure to click into the back view too. It is spectacular.

This fashion gem comes from Meerwiibli by Sarah-Maria of Phoenicia, NY. Merwiibli means "mermaid" in Swiss-German and Sarah-Marie says she has been sewing since she was a little girl. Just the sort of passion and experience that would produce such blazing hot wearable art.
Check this out! Color, pattern and style wrapped (excuse the pun) in a modern design that can be dressed up or down to take you anywhere. Nice simple neck with a purple landing spot for a fabulous statement necklace. Boots or pumps could rock this. I love this dress! (PS - does anyone else covet that beautiful red hair on the model?) When you go to the listing be sure to click into the back view too. It is spectacular.

This fashion gem comes from Meerwiibli by Sarah-Maria of Phoenicia, NY. Merwiibli means "mermaid" in Swiss-German and Sarah-Marie says she has been sewing since she was a little girl. Just the sort of passion and experience that would produce such blazing hot wearable art.
Subscribe to:
Posts (Atom)